MP(Mechanical Polishing) Stainless Seamless Pipe
Product Introduction
Polishing refers to the machining method of using mechanical, chemical or electrochemical action to reduce the surface roughness of the stainless steel pipe, so as to obtain a bright and flat surface. It is to use polishing tools and abrasive particles or other polishing media to modify the surface of the stainless steel pipe.
Stainless steel pipe polishing is divided into two parts: inner surface polishing and outer surface polishing. Most of the stainless steel tube polishing is mechanical polishing, if the precision requires higher use of electropolishing.
Mechanical polishing pipes are generally prohibited from being processed by mechanical polishing to reduce the surface roughness of the pipe wall and achieve a smooth and clean effect. the outside can be provided in mill finish, bright finish, 180 grit polish, 240 grit polish, 400 grit polish, and even finer depending on customer requirements.
Mechanical polishing is used to provide a homogenous and bright appearance. It is accomplished by grinding the tubing with finer and finer abrasive grits to achieve the desired finish or surface roughness. Tubing can be provided in a variety of surface finishes on the Outside and Inside Diameter based on customer requirements.
For ornamental purposes, For sanitary tubing, the outside and inside are polished to provide a smooth finish to avoid biological buildup on the tubing service. Mechanical polishing can also be used to prepare tubing for electropolishing so that the final desired surface finish is successfully achieved.
Advantages
– high brightness
– Improve surface finish , Better surface cleanliness
– Reduce product adhesion
Disadvantages
– The gloss cannot be consistent and cannot last
– May be susceptible to corrosion
– The mechanical strength of the surface is weakened
Application
Mechanically Polished Pipe
Mechanical polishing pipes are generally prohibited from being processed by mechanical polishing to reduce the surface roughness of the pipe wall and achieve a smooth and clean effect.
Roughness: Ra ≤ 0.8 μm
Material
TP316L , TP304L
Standard
ASTM A312
Surface Roughness(Ra)
Surface: 0.6μm
Tolerance
According to the ASTM A312
characteristic
● Strict control of outer diameter and wall thickness tolerances.
● After complete bright annealing, it has good corrosion resistance.
● Good weldability.
● After strict cleaning and production processes, it has good roughness.
Size Table
| Stainless steel pipe size table | |||||||||||
| (GB) | Wall Thickness | (JIS) | Wall Thickness | (AIS) | Wall Thickness | ||||||
| Outer diameter (flange inner diameter) | |||||||||||
| A series | B Series | 5S | 10S | 5S | 10S | TUBE | 5S | 10S | |||
| DN50 | 60.3 | 57 | 1.6 | 2.8 | 50A=60.5 | 1.65 | 2.8 | 2"=60.33 | 50.8 | 1.65 | 2.77 |
| DN65 | 76.1 | 76 | 2.0 | 3.0 | 65A=76.3 | 3 | 2 1/2"=73.3 | 63.5 | 1.65 | 3.05 | |
| DN80 | 88.9 | 89 | 2.0 | 3.0 | 80A=89.1 | 3 | 3"=88.9 | 76.2 | 1.65 | 3.05 | |
| DN90 | 101.6 | —— | 2.0 | 3.0 | 90A=101.6 | 3 | 3 1/2"=101.6 | 88.9 | 3.05 | ||
| DN100 | 114.3 | 108 | 2.0 | 3.0 | 100A=114.3 | 3 | 4"=114.3 | 101.6 | 3.05 | ||
| DN125 | 139.7 | 133 | 2.9 | 3.4 | 125A=139.8 | 3.4 | 5"=141.3 | 127 | 3.4 | ||
| DN150 | 168.3 | 159 | 2.9 | 3.4 | 150A=165.2 | 3.4 | 6"=168.3 | 152.4 | 3.4 | ||
| DN200 | 219.1 | 219 | 3.5 | 4.0 | 200A=216.3 | 4 | 8"=219.08 | 203.2 | 3.76 | ||
| DN250 | 273 | 273 | 3.6 | 4.0 | 250A=267.4 | 4 | 10"=273.05 | 254 | 4.19 | ||
| DN300 | 323.9 | 325 | 4.0 | 4.5 | 300A=318.5 | 4.5 | 12"=323.85 | 304.8 | 4.57 | ||
Certificate Of Honor

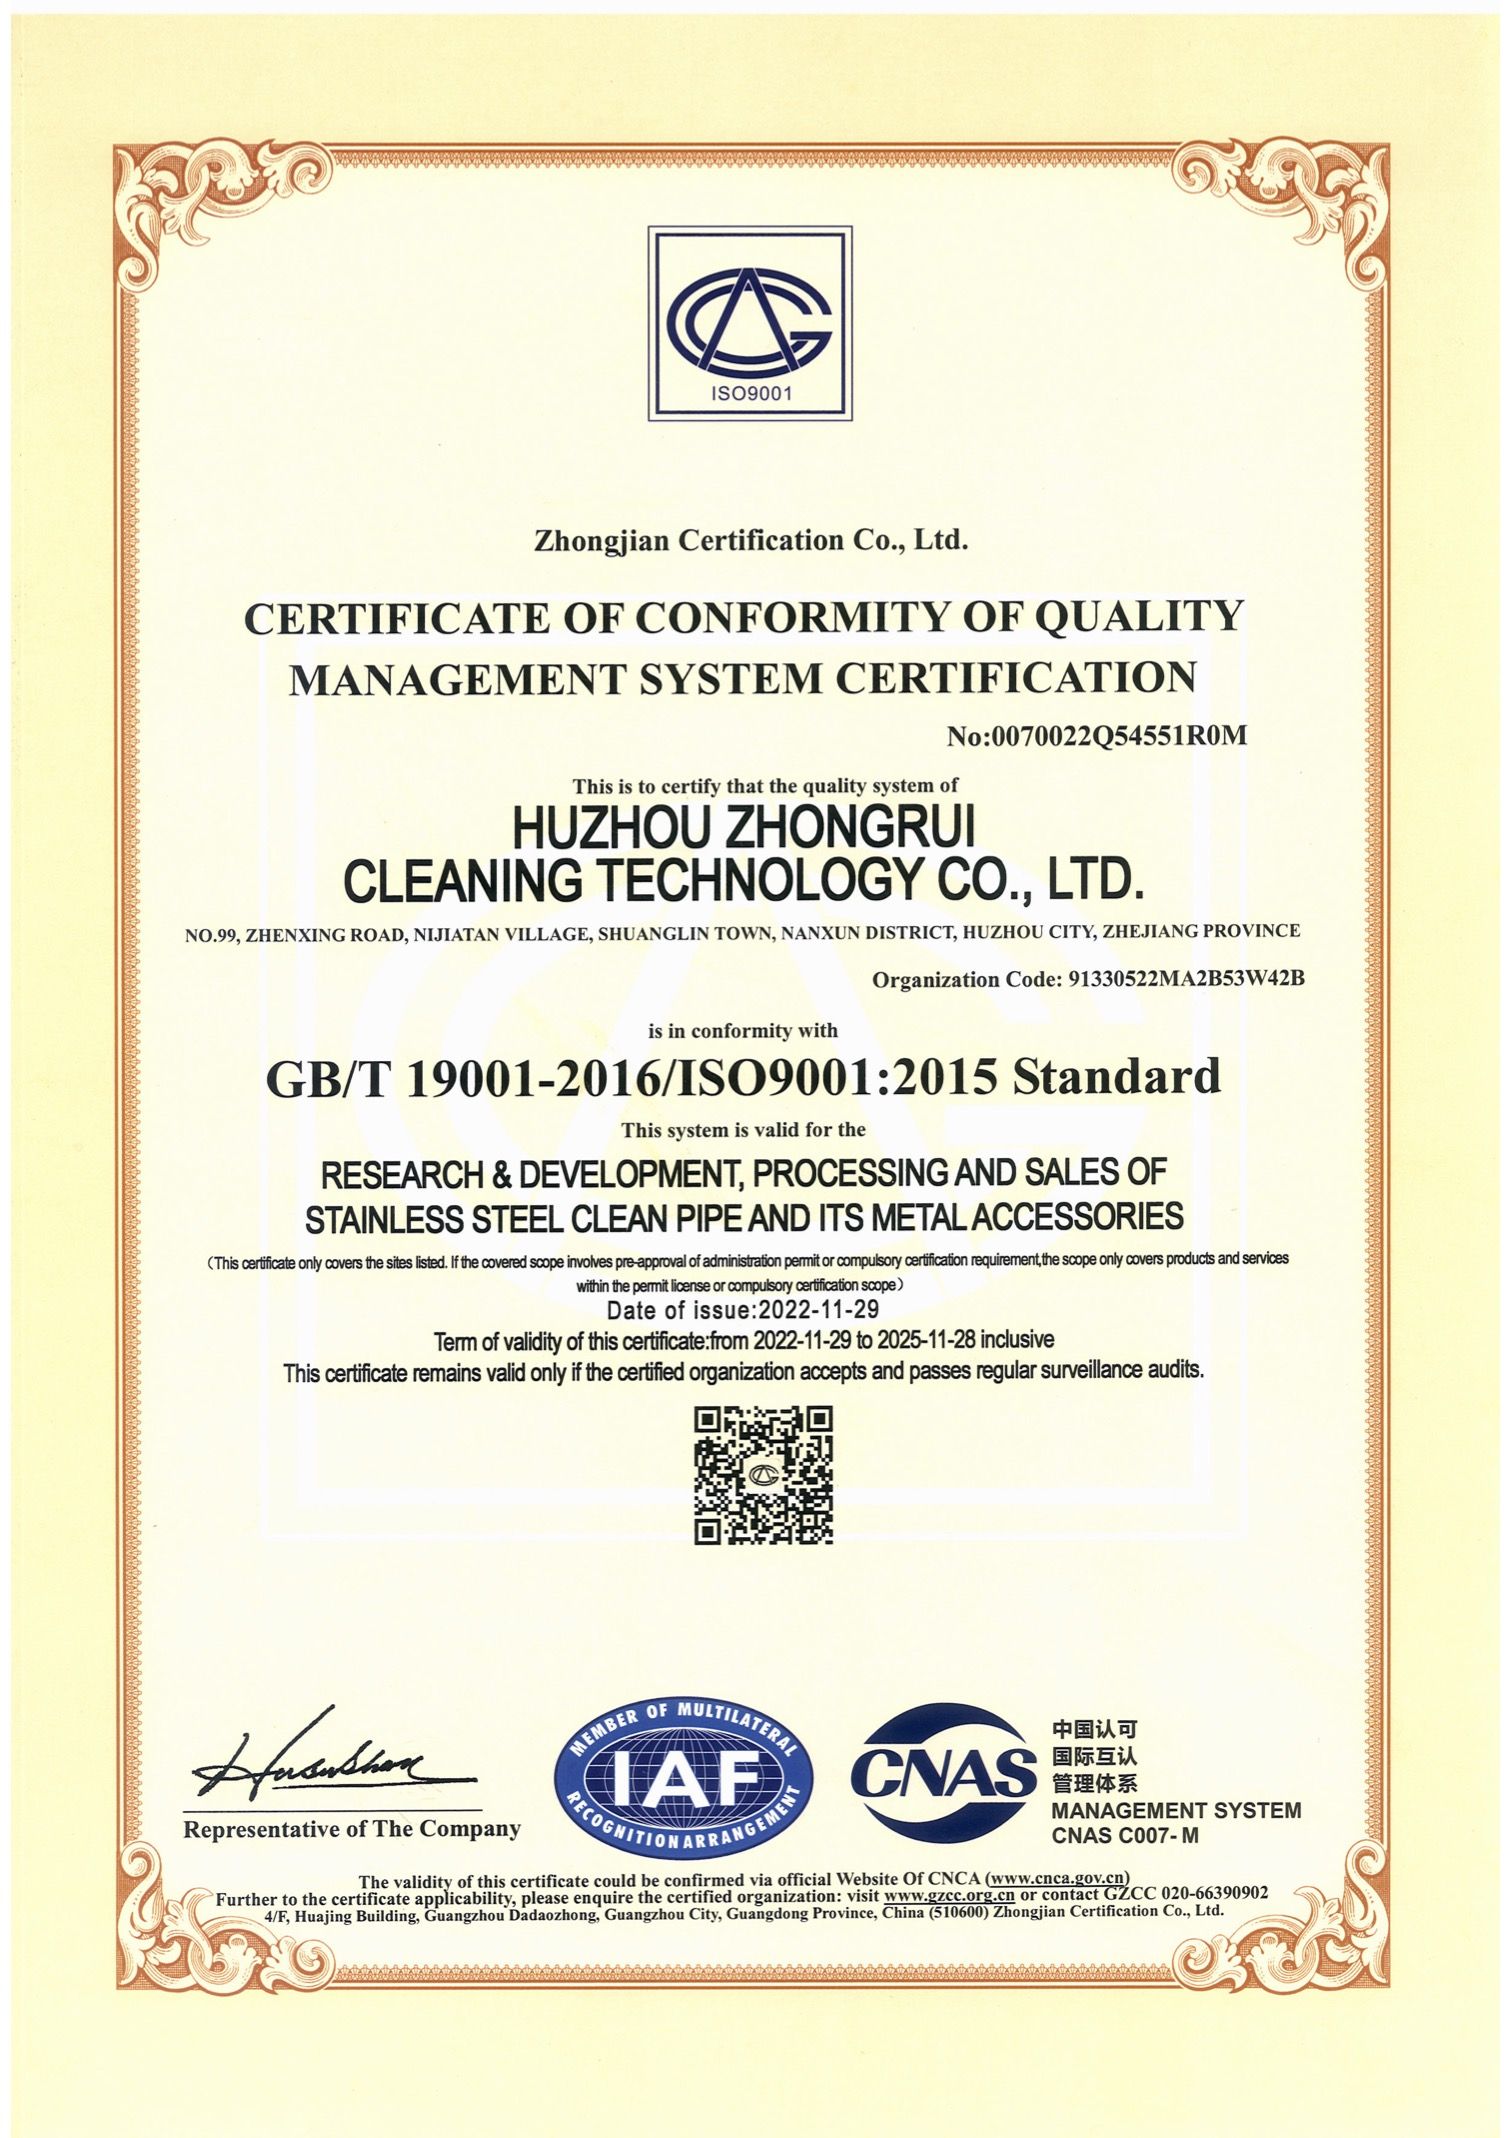
ISO9001/2015 Standard

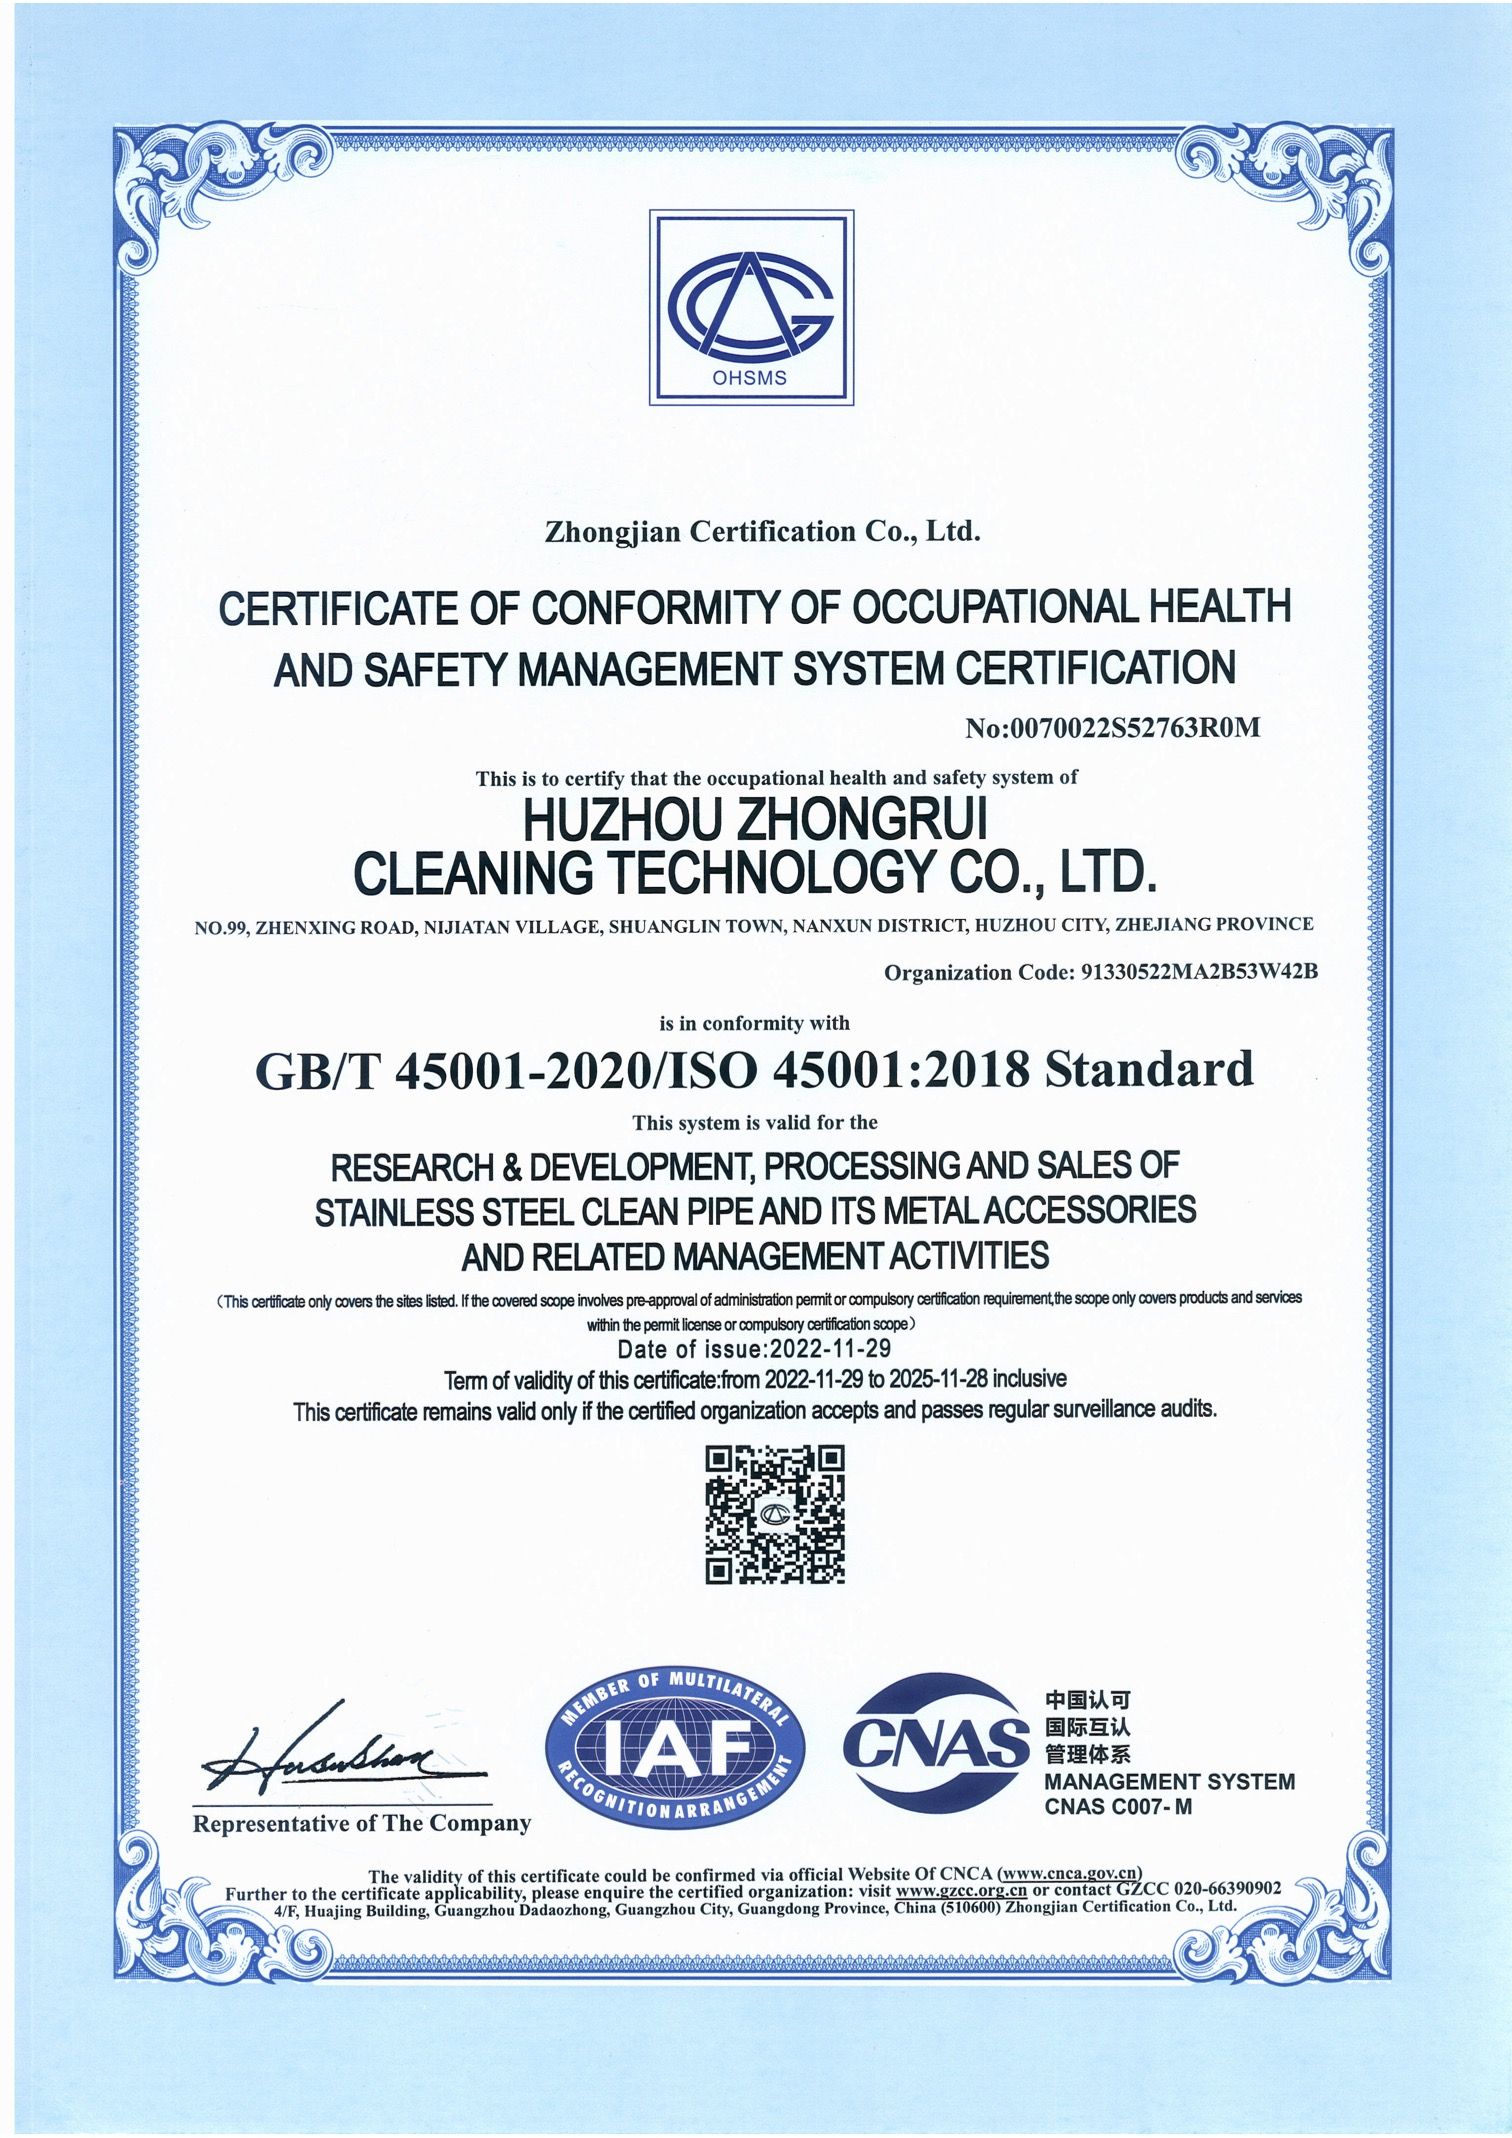
ISO 45001/2018 Standard

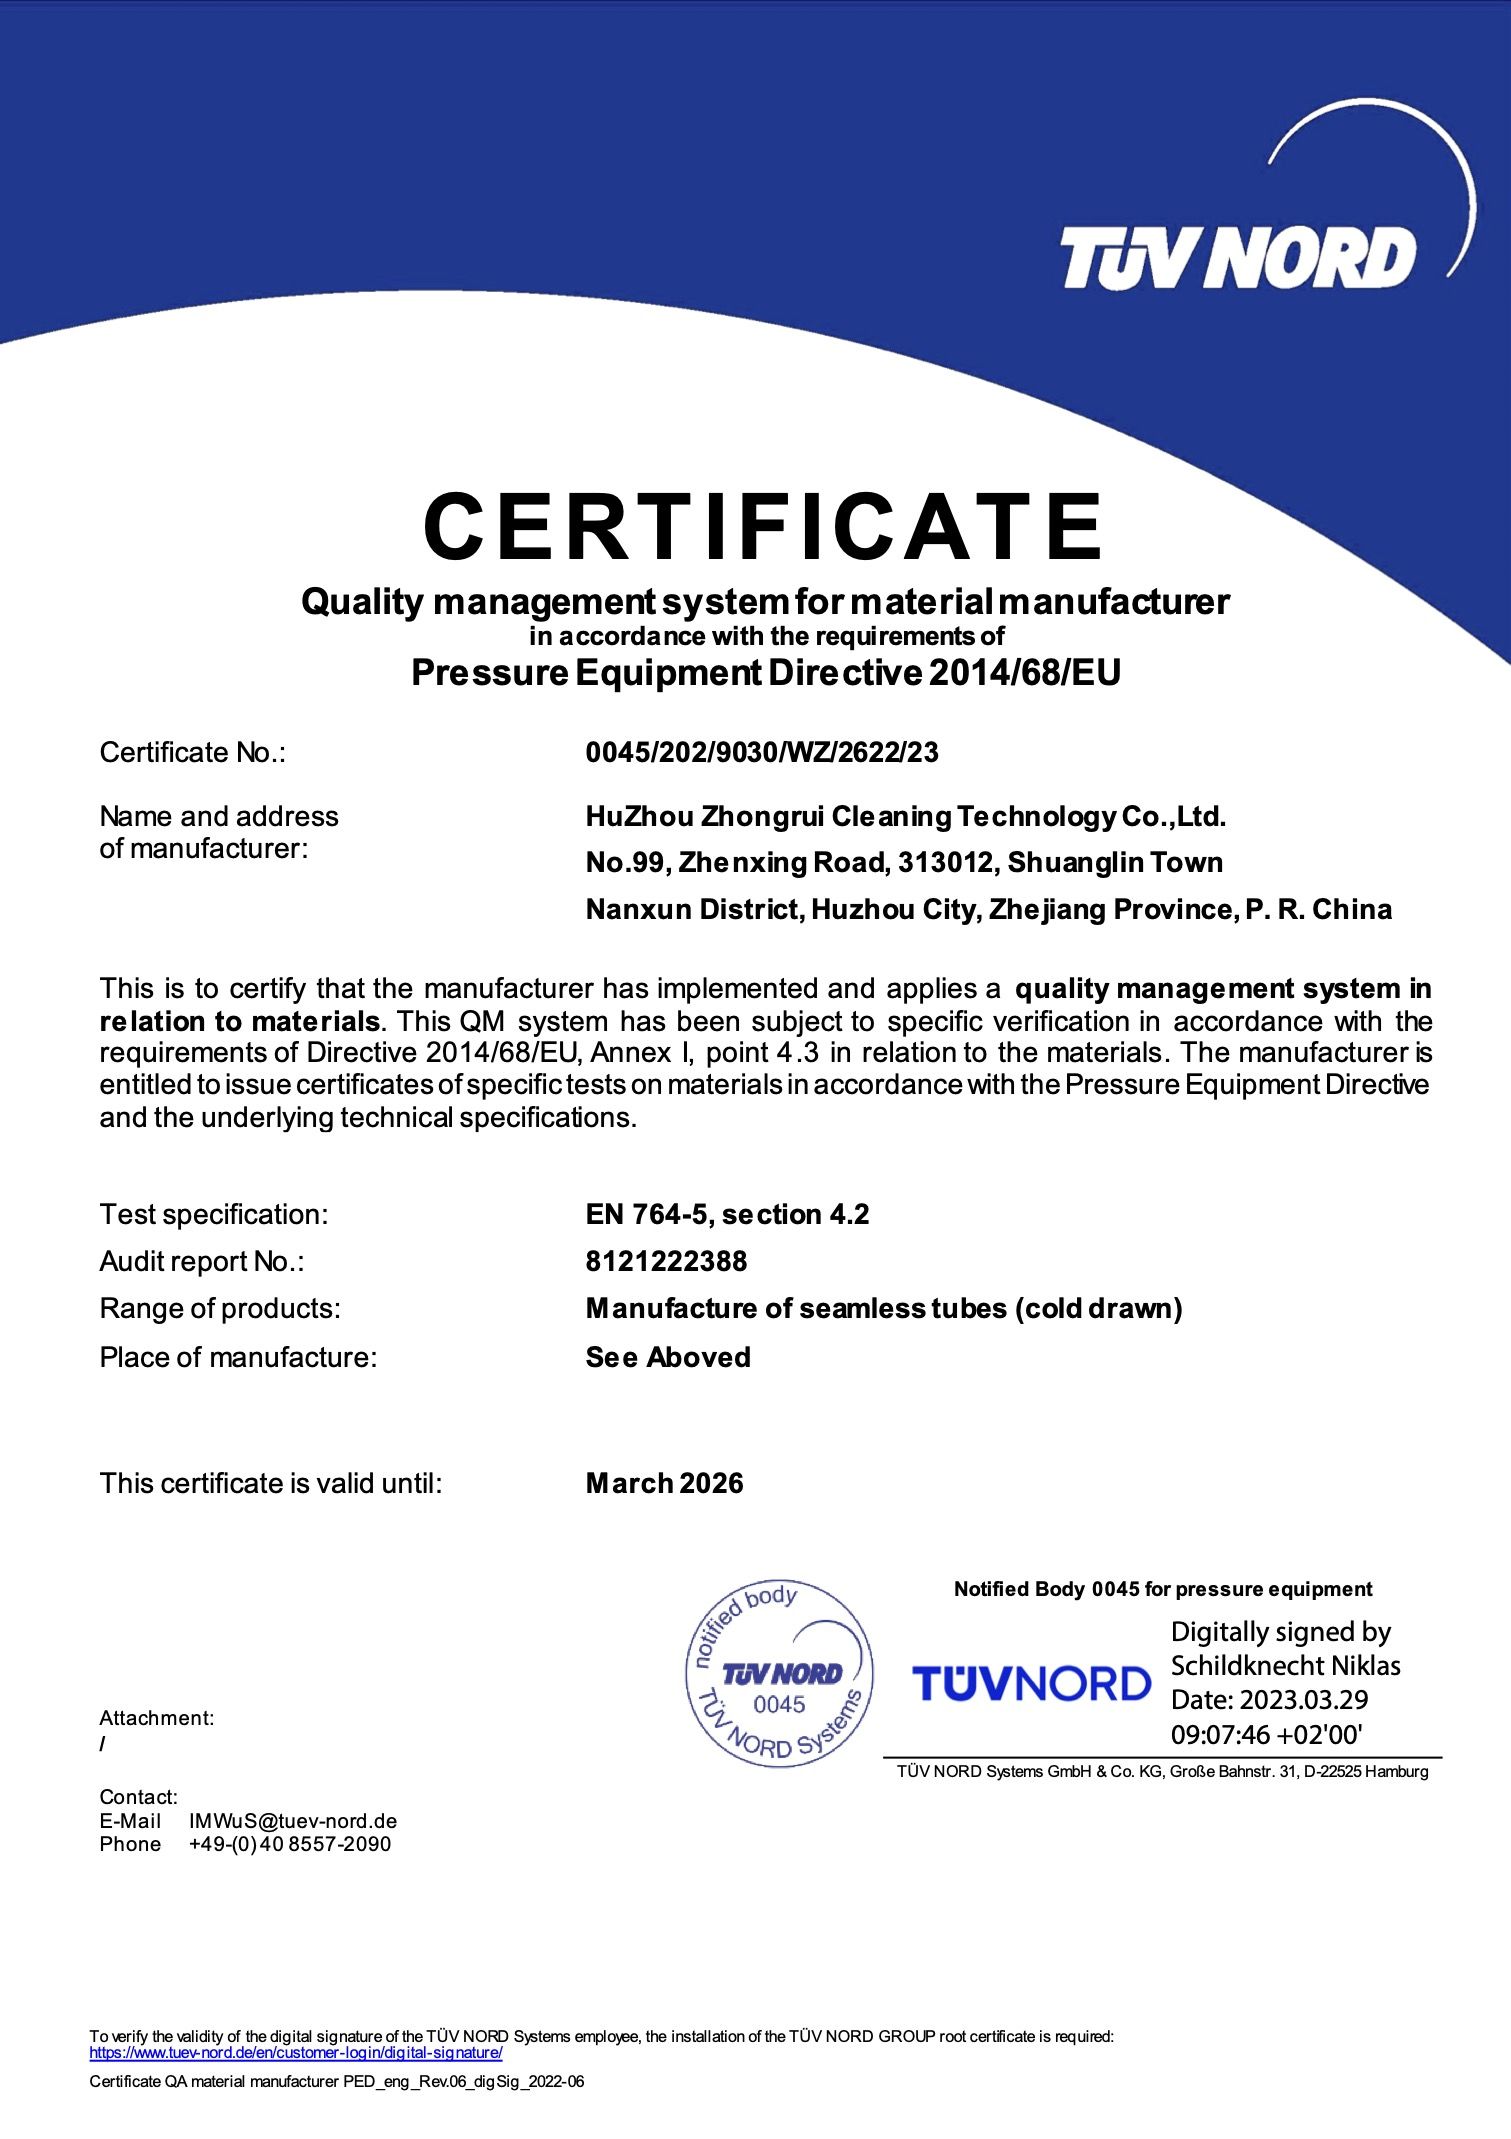
PED Certificate

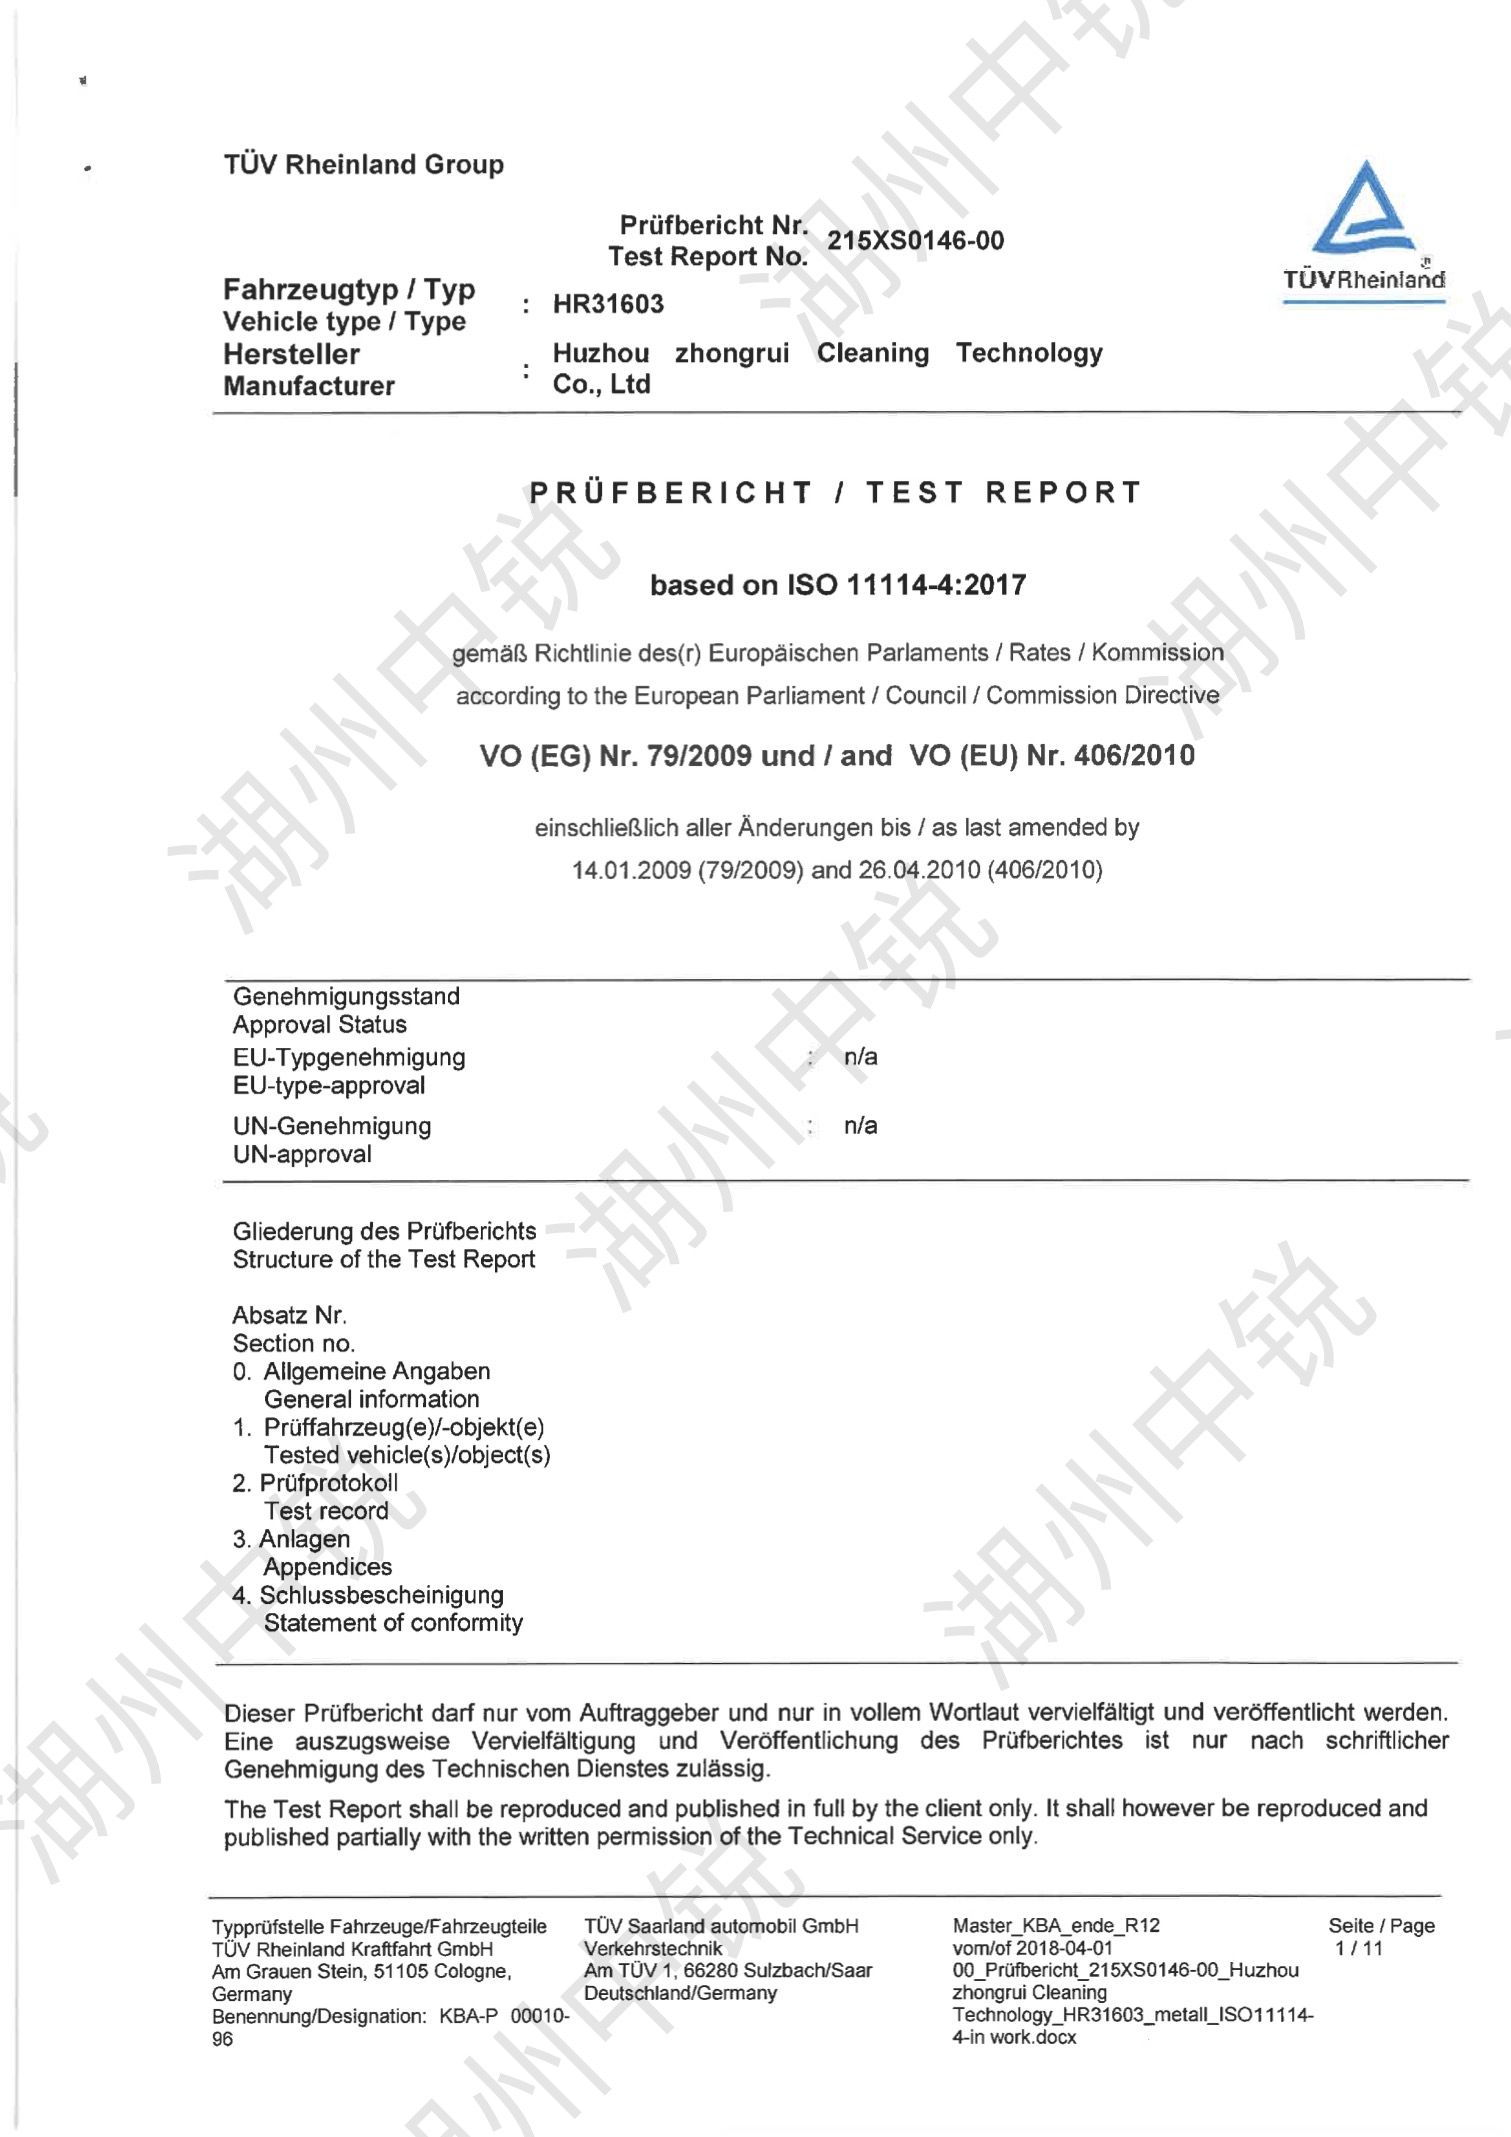
TUV Hydrogen compatibility test certificate
| No. | Size(mm) | |
| O.D | Thk | |
| BA Tube Inner surface roughness Ra0.35 | ||
| 1/4″ | 6.35 | 0.89 |
| 6.35 | 1.00 | |
| 3/8″ | 9.53 | 0.89 |
| 9.53 | 1.00 | |
| 1/2” | 12.70 | 0.89 |
| 12.70 | 1.00 | |
| 12.70 | 1.24 | |
| 3/4” | 19.05 | 1.65 |
| 1 | 25.40 | 1.65 |
| BA Tube Inner surface roughness Ra0.6 | ||
| 1/8″ | 3.175 | 0.71 |
| 1/4″ | 6.35 | 0.89 |
| 3/8″ | 9.53 | 0.89 |
| 9.53 | 1.00 | |
| 9.53 | 1.24 | |
| 9.53 | 1.65 | |
| 9.53 | 2.11 | |
| 9.53 | 3.18 | |
| 1/2″ | 12.70 | 0.89 |
| 12.70 | 1.00 | |
| 12.70 | 1.24 | |
| 12.70 | 1.65 | |
| 12.70 | 2.11 | |
| 5/8″ | 15.88 | 1.24 |
| 15.88 | 1.65 | |
| 3/4″ | 19.05 | 1.24 |
| 19.05 | 1.65 | |
| 19.05 | 2.11 | |
| 1″ | 25.40 | 1.24 |
| 25.40 | 1.65 | |
| 25.40 | 2.11 | |
| 1-1/4″ | 31.75 | 1.65 |
| 1-1/2″ | 38.10 | 1.65 |
| 2″ | 50.80 | 1.65 |
| 10A | 17.30 | 1.20 |
| 15A | 21.70 | 1.65 |
| 20A | 27.20 | 1.65 |
| 25A | 34.00 | 1.65 |
| 32A | 42.70 | 1.65 |
| 40A | 48.60 | 1.65 |
| 50A | 60.50 | 1.65 |
| 8.00 | 1.00 | |
| 8.00 | 1.50 | |
| 10.00 | 1.00 | |
| 10.00 | 1.50 | |
| 10.00 | 2.00 | |
| 12.00 | 1.00 | |
| 12.00 | 1.50 | |
| 12.00 | 2.00 | |
| 14.00 | 1.00 | |
| 14.00 | 1.50 | |
| 14.00 | 2.00 | |
| 15.00 | 1.00 | |
| 15.00 | 1.50 | |
| 15.00 | 2.00 | |
| 16.00 | 1.00 | |
| 16.00 | 1.50 | |
| 16.00 | 2.00 | |
| 18.00 | 1.00 | |
| 18.00 | 1.50 | |
| 18.00 | 2.00 | |
| 19.00 | 1.50 | |
| 19.00 | 2.00 | |
| 20.00 | 1.50 | |
| 20.00 | 2.00 | |
| 22.00 | 1.50 | |
| 22.00 | 2.00 | |
| 25.00 | 2.00 | |
| 28.00 | 1.50 | |
| BA Tube, No request about the inner surface roughness | ||
| 1/4″ | 6.35 | 0.89 |
| 6.35 | 1.24 | |
| 6.35 | 1.65 | |
| 3/8″ | 9.53 | 0.89 |
| 9.53 | 1.24 | |
| 9.53 | 1.65 | |
| 9.53 | 2.11 | |
| 1/2″ | 12.70 | 0.89 |
| 12.70 | 1.24 | |
| 12.70 | 1.65 | |
| 12.70 | 2.11 | |
| 6.00 | 1.00 | |
| 8.00 | 1.00 | |
| 10.00 | 1.00 | |
| 12.00 | 1.00 | |
| 12.00 | 1.50 | |


